Creating a Page
The login area for Cascade is https://tamiu.cascadecms.com/.
First Steps
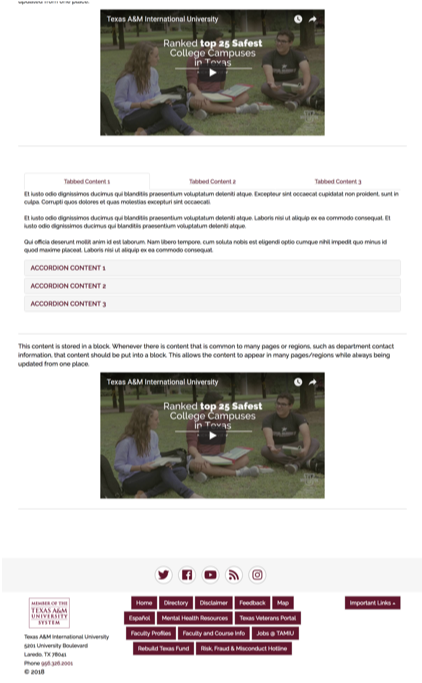
Standard Page with Rows and Columns
The Standard Page with Columns and Rows is useful for creating dynamic pages. Text Columns, Tabs, Accordions, and Block Content.
Copying a Current Page
Alternatively, Cascade Content Managers can copy the layout of a live page they own by right-clicking the page they wish to copy and choosing the "Copy" option. All formatting and styles from the original page will be duplicated in the new page.
Top Information: Banner, Names, and Titles
Once a page has been created, the best practice is to enter the display name and title of the page. To begin, click the "Edit" button on the top right side of the page's toolbar.
Display Name
In most cases, a page's display name will be the office or department the page belongs to. This naming convention is used to ensure visitor's can navigate smoothly.
Title
A page's title appears on the browser's tab and search engine results. When entering a title, content managers want to strive for a unique name that will give visitors appropriate insight on a page's content.
Toggling Title On/Off
At times, a page's title may want to be removed. To do so, toggle the "No" radio option in the Display Title field. This option is usually used when a page can stand alone on it's own.
Banner
Both Standard Page templates within Cascade have the ability to add in a 1800x500px banner image at the start of the page. Banner images are great for capturing user's attention and adding life to your page.
Navigation Menus
As the name suggests, a navigation menu is a menu that is integrated into a page to help visitors explore related pages of your site. On our live pages, the menu is located directly below a page's display name.
Building the Menu
To have a smooth menu-building process, content managers should create all the pages that want to be added within a navigation menu before beginning menu creation.
To begin creating a navigation menu, click on the "Add Content" option within Cascade's primary bar and choose the "Navigation block" option.
Naming & Placement
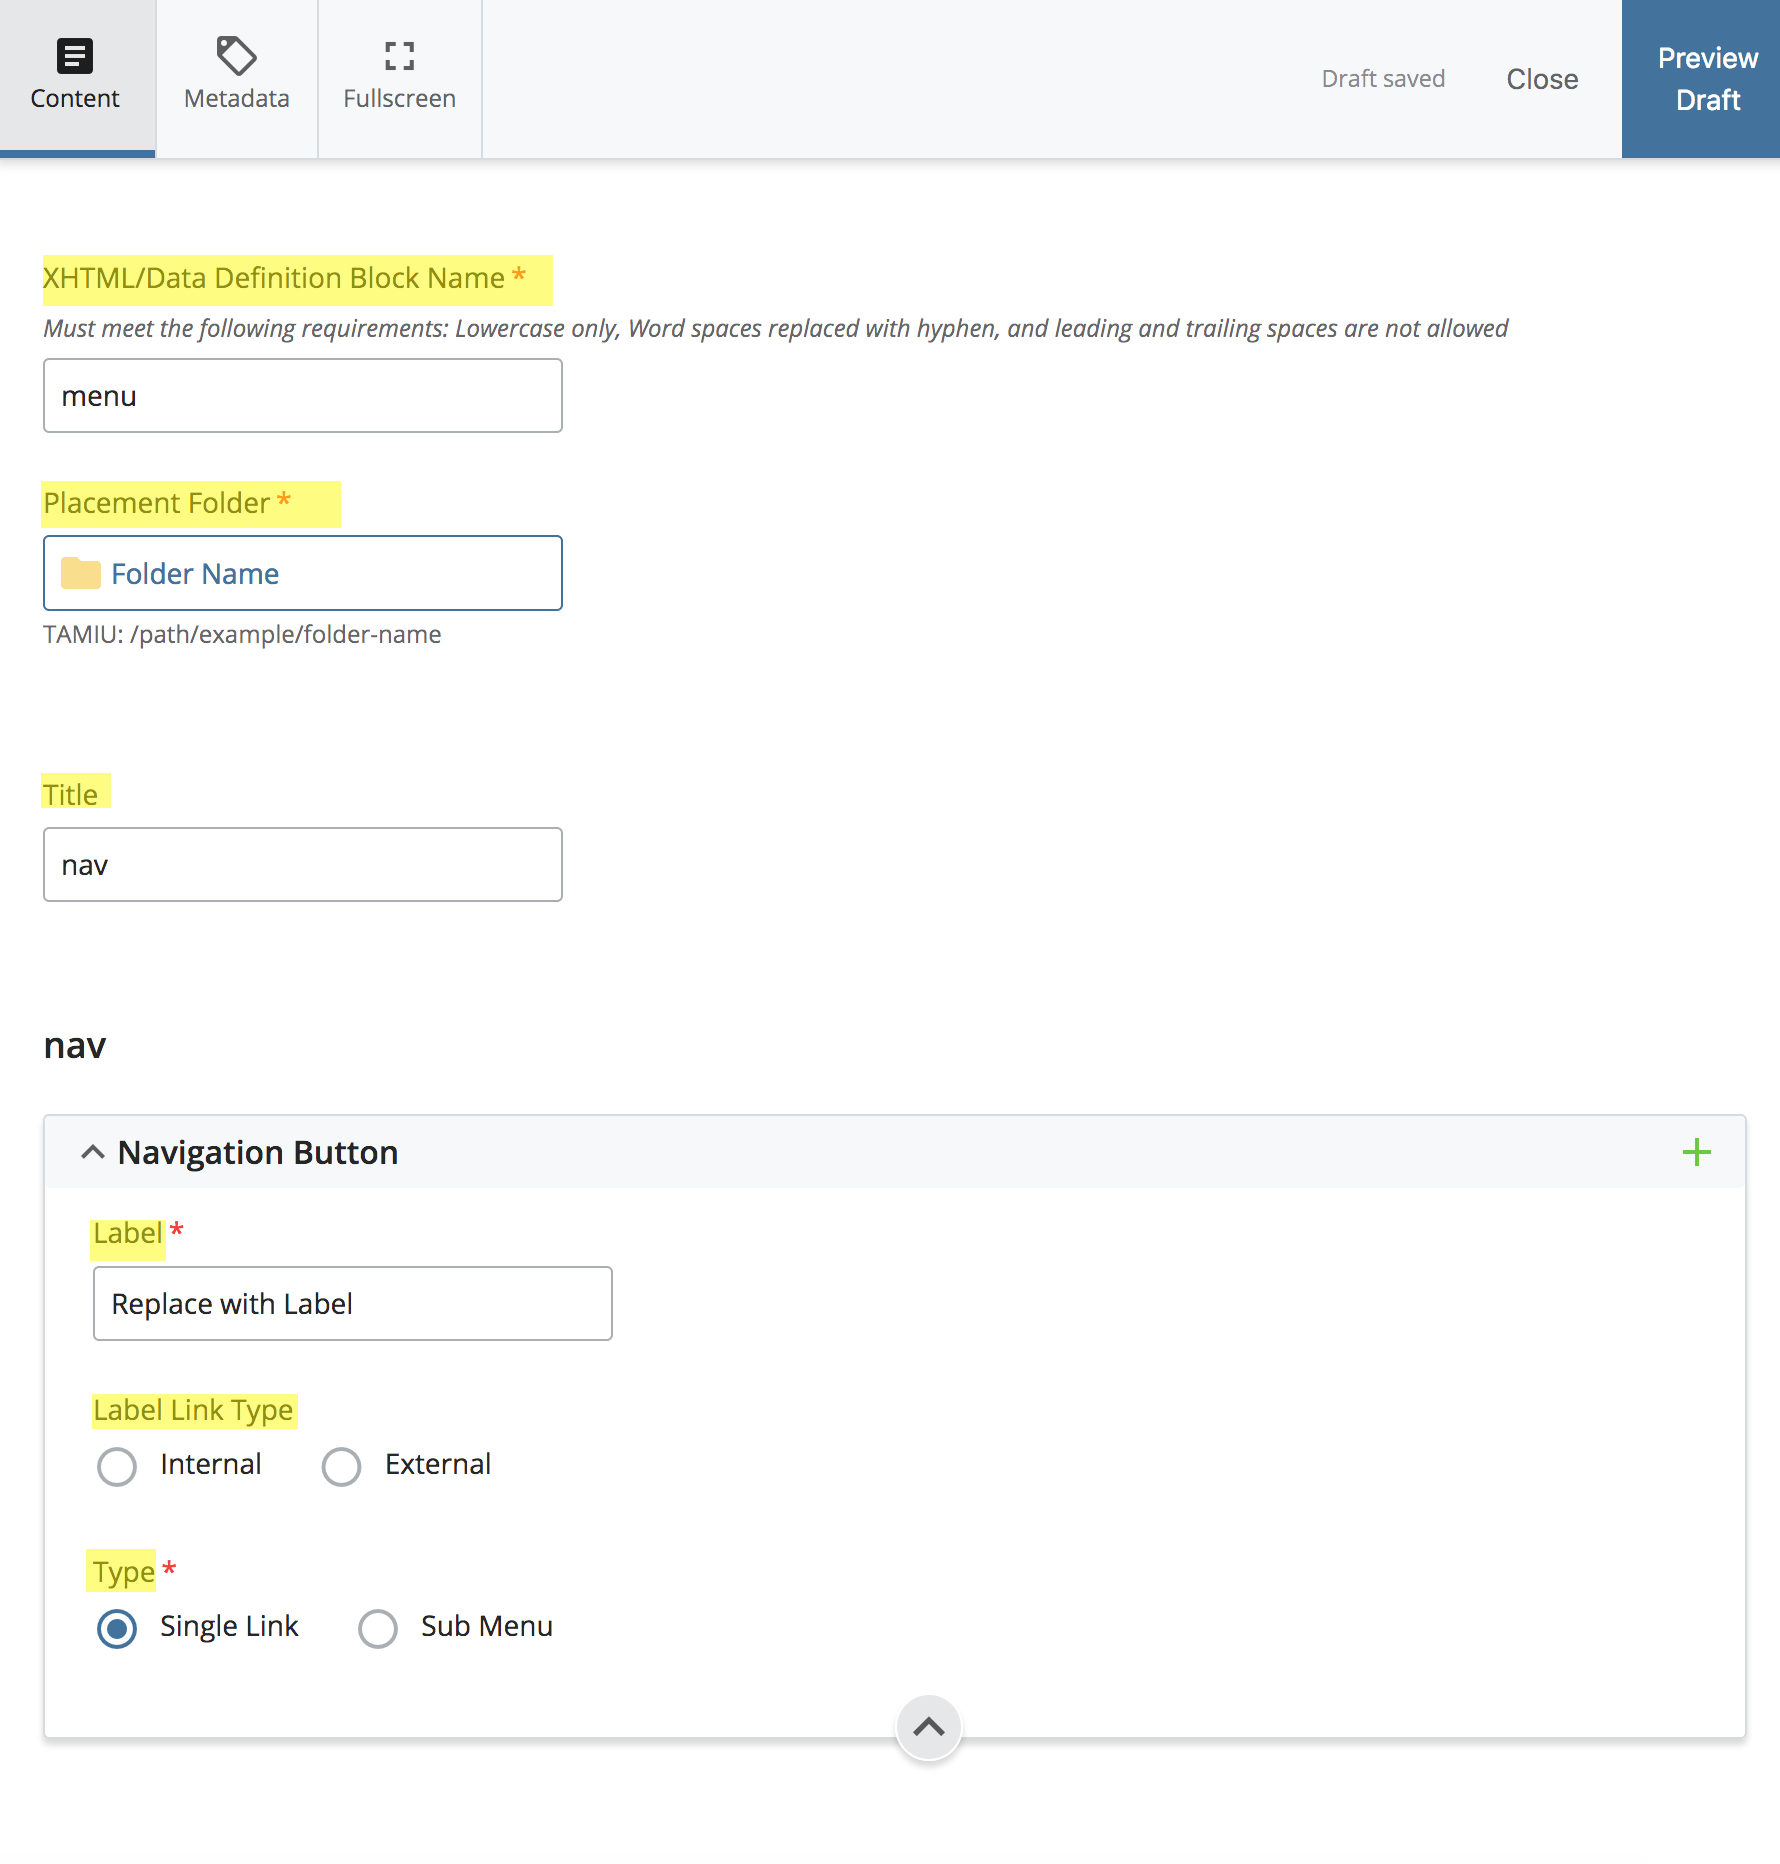
The XHTML/Data Definition Block Name must be named following the Cascade Naming Guideline. When adding the navigation menu to a page, this will be the name used to find the menu.
The Placement Folder determines where the navigation block will be stored within Cascade. Storing the navigation block along with all other related pages is the best practice.
Although not necessary to change, the Title field will name the navigation block. It is used internally and will not be seen by visitors.
Each button within the menu will have it's own Navigation Button. The Label name will be displayed to users in the navigation menu. It is best to keep the label name unique and as short as possible while still relaying the correct information to the visitor.
The Label Link Type specifies where the navigation button will redirect the user. For more details regarding links, visit our dedicated Formatting, Links & Buttons page.
The Type field is important for content managers seeking to create submenus within their menus. This TAMIU page is an example of utilizing the submenu feature. The Single Link type is sufficient in most menus.
Now that you have created a menu block, it can be used on any page.
Adding Your Menu to a Page
To incorporate a page menu, content manager must scroll to the end of a page's editor and find the "Page Navigation" field. Click on the "Choose Block" button and choose the appropriate menu block for your page.